


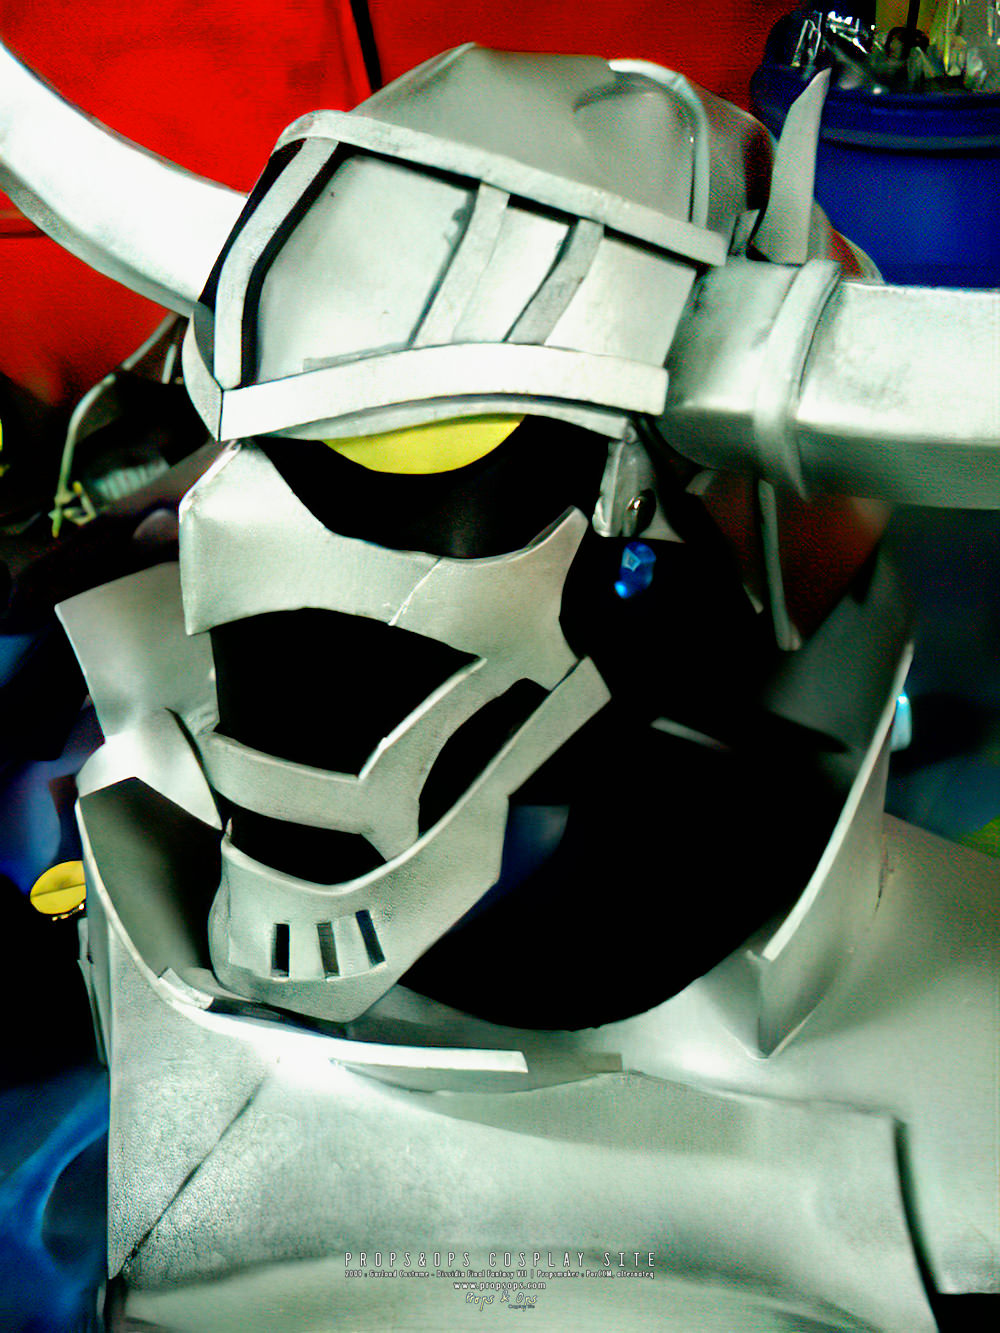
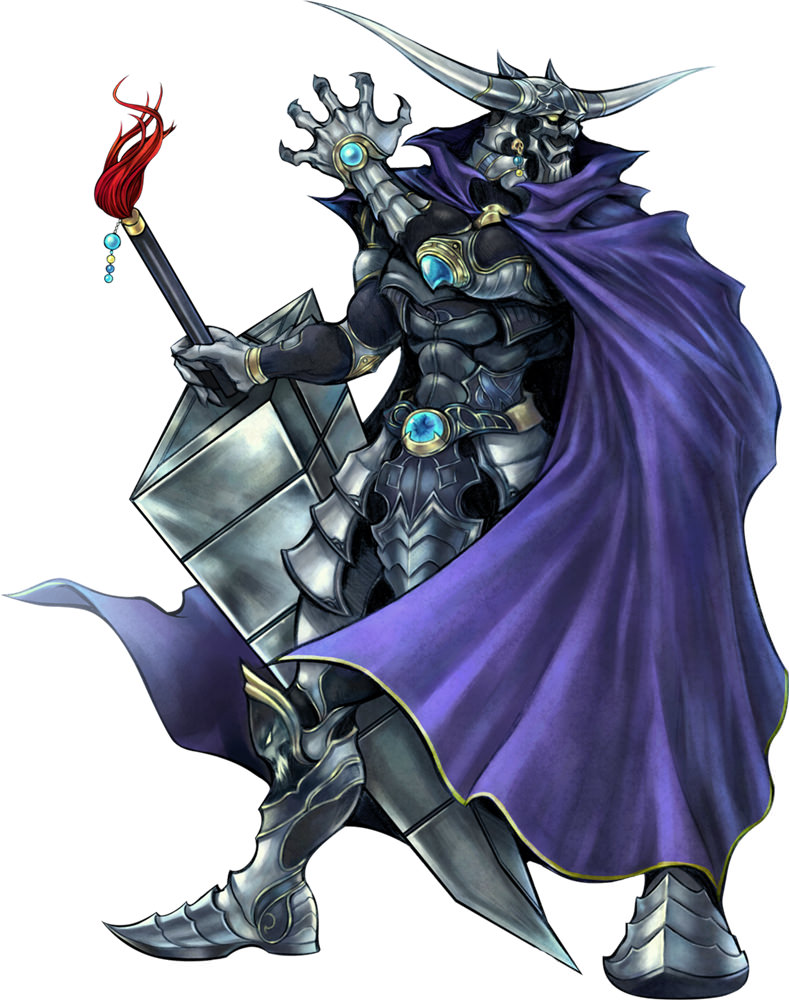
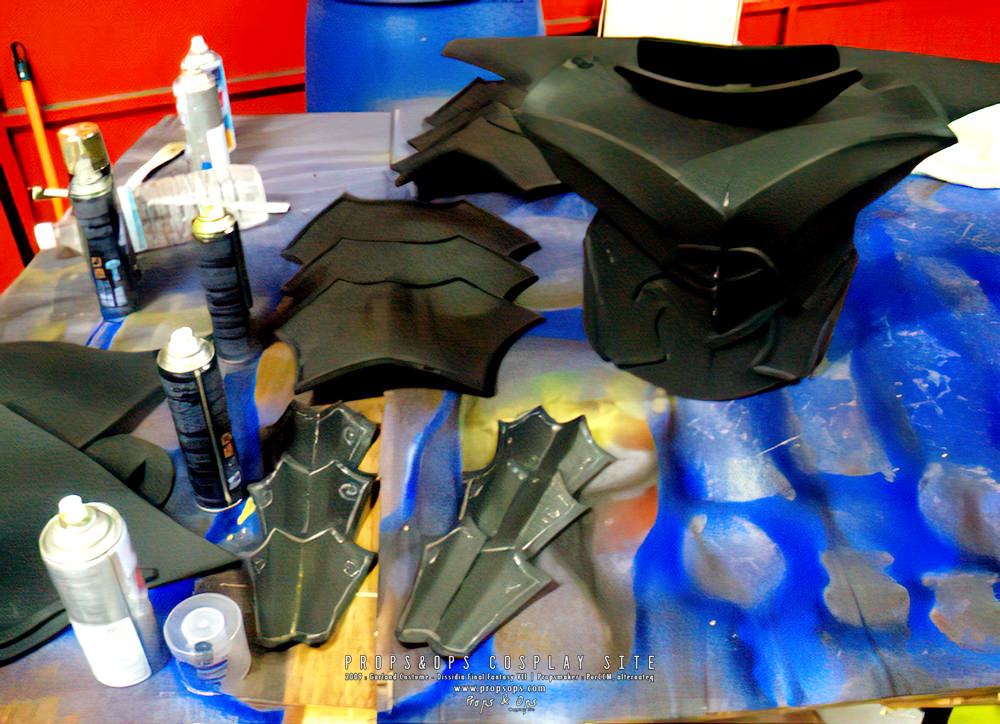
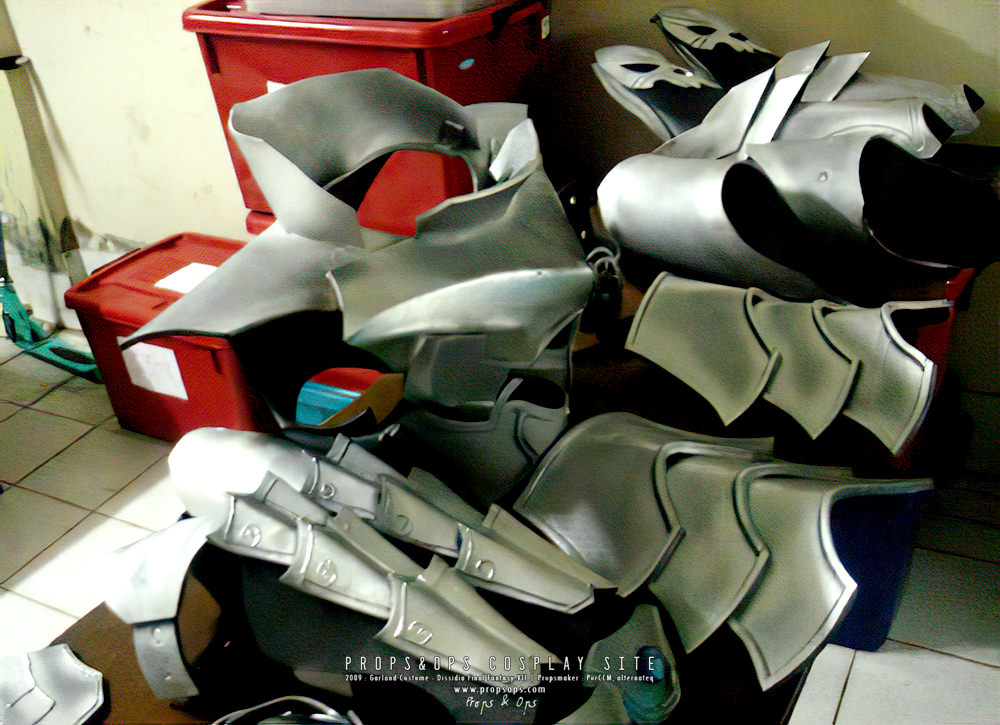
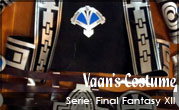
ตัดโฟมยางออกมาเป็นชิ้นของเกราะ แขน-ขา ตัว และ หัว เอามาติดตะเข็บส่วนที่ยึดด้วยกาวร้อน และ ติดตีนตุ๊กแกตรงที่ข้อต่อเชื่อม แล้วตัดโฟมยางเป็นเส้นเล็ก ๆ ทากาวเดินลายตามตัวไปจนสวยงาม แล้วก็จัดการพ่นแล็กเกอร์ ราว ๆ สามครั้งจนผิวโฟมถูกเคลือบด้วยแล็กเกอร์จนเป็นมันจนสามารถพ่นสีติดได้ แล้วก็พ่นสีเงิน จนทั่วทั้งพรอป แล้วก็เอาสีโครเมี่ยมพ่นไล่ตามขอบจนสีตัดกันเป็นดีเทล สวยงาม จากนั้นก็พ่นแล็กเกอร์เคลือบอีกที หลังจากนั้นก็เอาลูกปัดประดับ แล้วก็ปล่อยให้โดนลมซักสองวัน ให้กลิ่นสีระเหย ก็เป็นอันใช้ได้ ^ ^
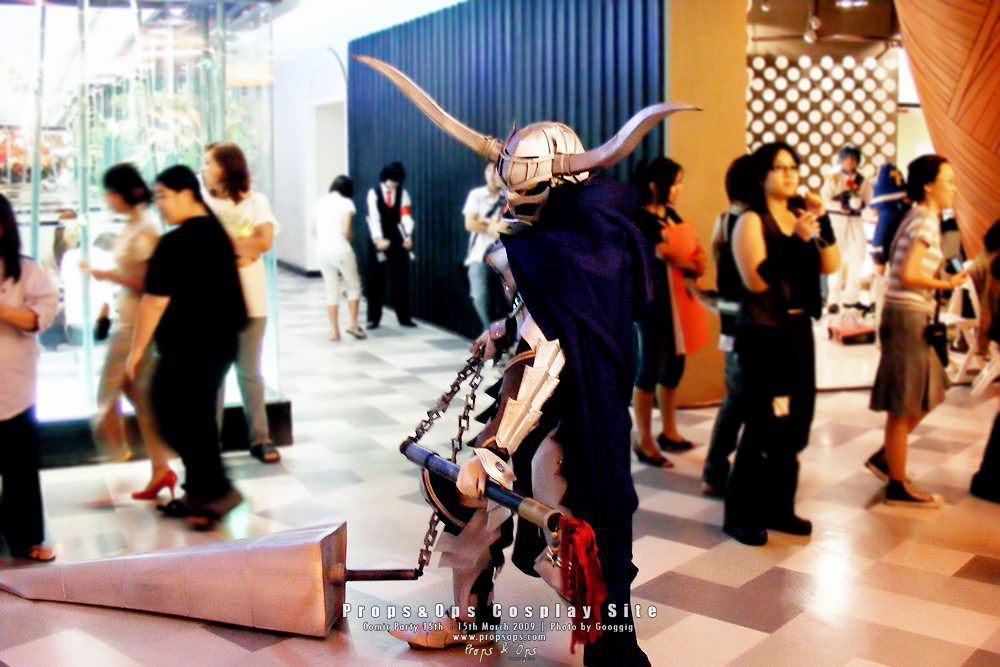
ส่วนเขาเป็นความท้าทายมาก เพราะถ้าทำหนักเกินจะมีปัญหาในการขยับ แต่ความแข็งแรงของพรอปก้เป็นหัวใจสำคัญของพรอปทุกชิ้นที่ทำเช่นกัน ดังนั้นทุกอย่างต้องสมดุลบนพื้นฐานความแข็งแรง
[English Text by Bugong]
Cut the rubber foam into the armor shape on the legs, arms, body, and head parts. Connect the parts as needed with silicon glue. The joints are connected with Velcro instead to maintain flexibility. Cut the rubber foam into small lines and attach with the main parts to decorate like the original. Spray it with lacquer around 3 times to make it absorb the spray paint well then spray the whole armor with silver color.
After that, spray chromium color around the edges and corners to create shady lighting. Lastly, cover the whole armor with lacquer once again. Decorate parts with jewels and beads. Let it stand in open space for around 2 days to let the spray odor evaporate then it is ready ^^.
The spike part is very challenging because if it is too heavy then it will lose its flexibility significantly. However, its strength is also very important so it is quite challenging to balance these two aspects.


|


Date: 15 มีนาคม พ.ศ.2552 | 15th March 2009